Dry brushing has taken the wellness-world by storm and we’re not at all surprised because it’s damn good! Not only is it a simple and quick addition to your shower routine, it’s crazy effective too. Here’s what you need to know to get started…
Dry brushing involves whisking a natural bristle brush up over your skin and boasts a long list of benefits, including detoxification, exfoliation and lymph drainage (aka de-puffage)! Many swear it reduces the appearance of cellulite and keeps skin refreshed in even the dryiest of winter months… so, like, need we say more?!
A Bit of Science For The Curious
The beauty of dry brushing lies in the lymph stimulation, which is a good thing for our energy levels and skin vitality. The lymphatic system is a key element of our immune system, it is comprised of organs and tissues responsible for collecting, transporting and disposing of cellular waste. It does so by circulating lymphatic fluid (containing infection-fighting white blood cells) throughout the body, which is then filtered by the lymph nodes, and re-circulated. Dry brushing (especially over areas where lymph nodes are close to the skin – think armpits and groin) manually promotes lymph movement and drainage – all good stuff!
OK, Sounds Worth A Try – Where Do I Begin?
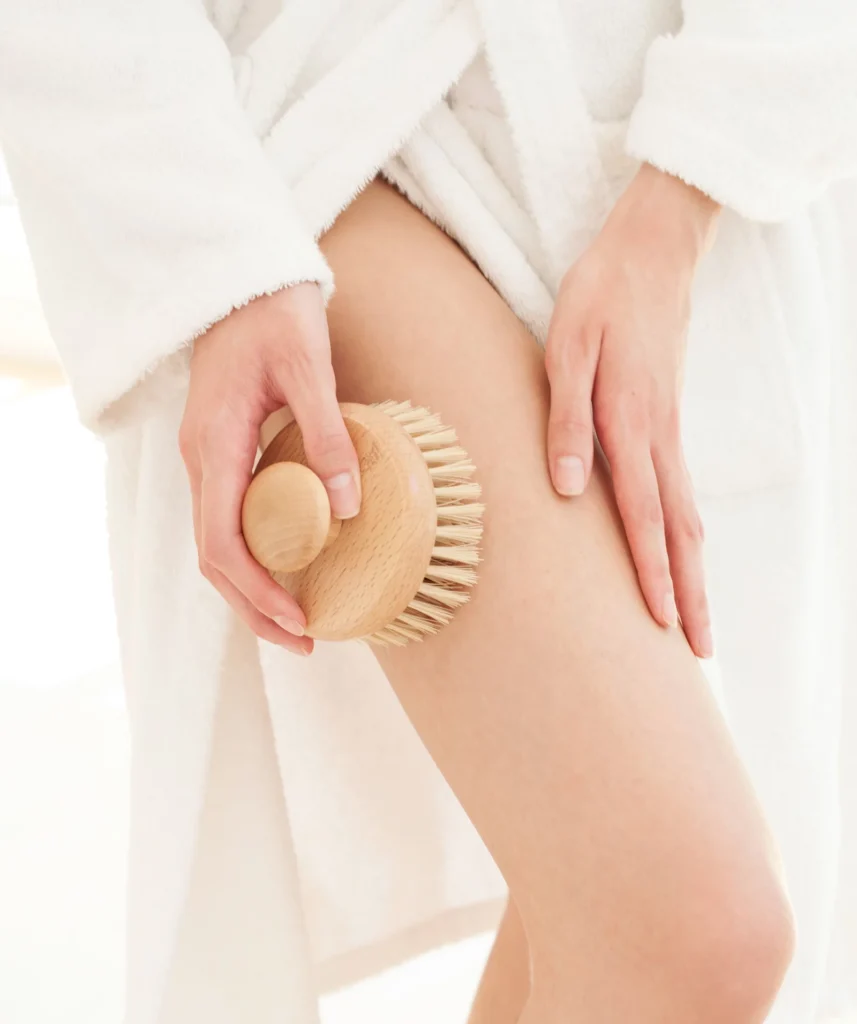
Materials: First, you’ll need a natural bristled brush with fairly firm bristles (soft bristled brush may be a good exfoliator, but it won’t help stimulate the lymph system, which is where the real magic happens). We love this $25 set
Timing: The most convenient time to dry brush is just before your morning shower. However, if you’re not an every day showerer (like me) you can still get in the game by misting your brush with a natural body oil (like this one) before brushing.
Dry Brushing Step-By-Step
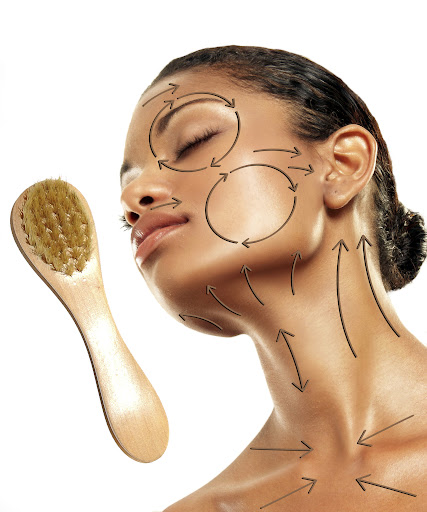
The basic tenet is to work the brush in an out-to-in motion, with short upward or circular strokes, ending around the heart.
If you only have time for a quickie (1 minute):
- Brush feet, behind the knees and front of hips. I find myself giving each area 2-3 strokes.
- Brush hands, arm pits and end with the heart.
Aka, hit the extremities and key node areas (front of hips and armpits) for maximum benefits with minimum time spent.
For a thorough dry brush (takes 3-5 minutes):
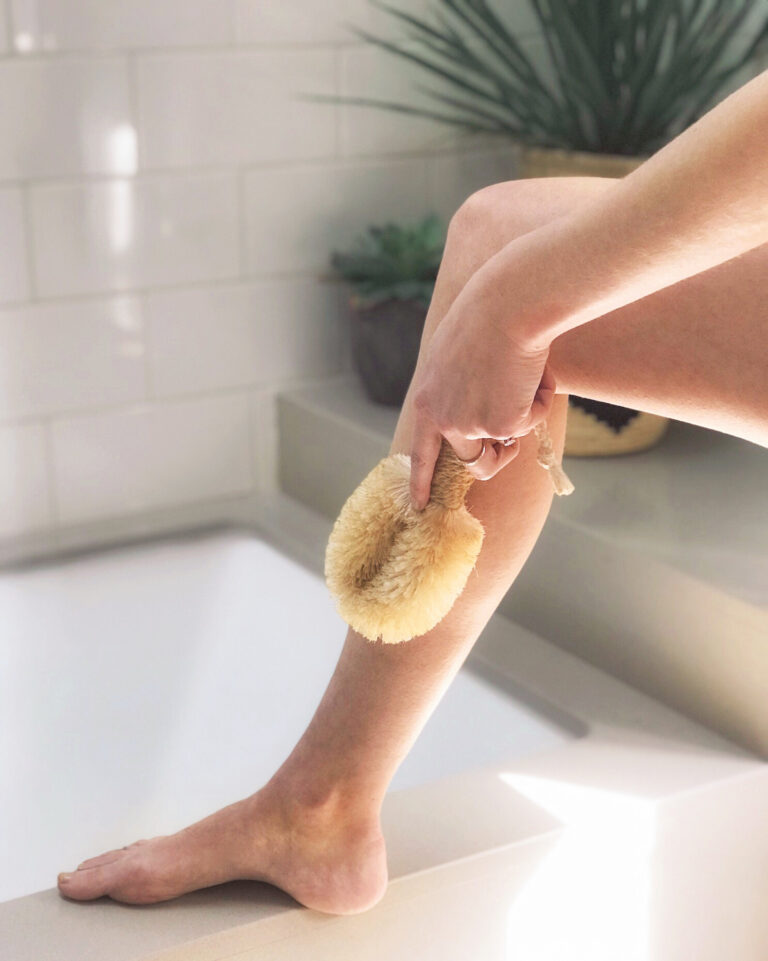
- Starting with feet, brush the soles and tops.
- Work your way up the legs, with special attention behind the knees, and on the front of your hips (so you get those groin lymph nodes).
- Move around to the butt and up the back (made infinitely easier/at all possible with a long handled brush).
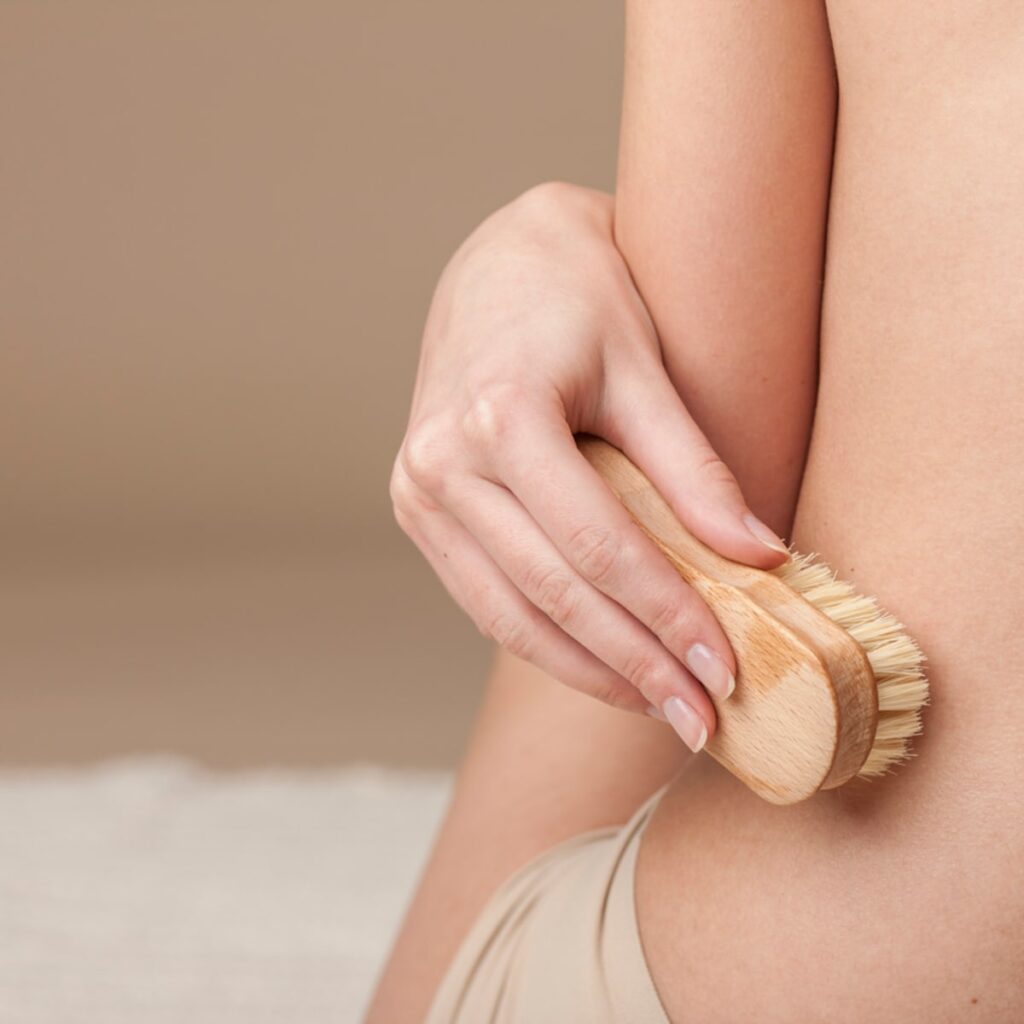
- Then move on to the hands, brushing the palms, then tops, and working your way up the arm to the shoulder and arm pit (another key node).
- Finish by brushing the stomach in a clockwise motion (I always give my tummy some extra love), and ending with circular strokes on the chest (over your heart).
-
Source Pinterest.com
What To Expect From Dry Brushing
- The first brush time may not be the most enjoyable (raking a dry, hard bristled brush over my skin – no thank you!). But go easy, starting with light gentle strokes and work your way to a firmer brush. You’ll be surprised how quickly your skin acclimates. I have super sensitive skin, and after 3-4 sessions I was good to go.
- Halfway through your first brush session you’ll feel the infamous invigorating boost – it’s hard to describe but feels like your body is waking up from within and loving it.
- Within a few sessions my skin was softer, and I noticed my post shower lotion or oil was able to soak in much more easily.
Things To Note
- Avoid brushing broken or damaged skin. Neither the pressure nor bristles should ever be harsh enough to break the skin. Harder is not better.
- Just as a healthy make-up routine requires washing brushes, so does dry brushing. Follow the instructions for your particular brush.